How to use leaflet map in your Angular Universal Application.
Angular Universal (as known as Server Side Rendering, SSR) could be useful in many cases.
Angular Universal is a technology that renders Angular applications on the server.
A normal Angular application executes in the browser, rendering pages in the DOM in response to user actions. Angular Universal executes on the server, generating static application pages that later get bootstrapped on the client. This means that the application generally renders more quickly, giving users a chance to view the application layout before it becomes fully interactive.
1.Check requirements
In order to follow this tutorial you’ll need first to install:
Once you’re done you can now open a terminal and check if node is installed :
$ node -vNow we’ll install angular CLI (Command Line Interface):
$ npm install -g @angular/cliAgain, test that Angular CLI is well setup :
$ ng -v2.Create the project
Creating a new project with Angular is quite simple :
$ ng new creativenerd-map-tutorialThen you’ll have to answer few questions :
- Would you like to add Angular routing? Yes
- Which stylesheet format would you like to use? let’s use default CSS.
Your project is now ready.
$ cd creativenerd-map-tutorial
$ ng serve
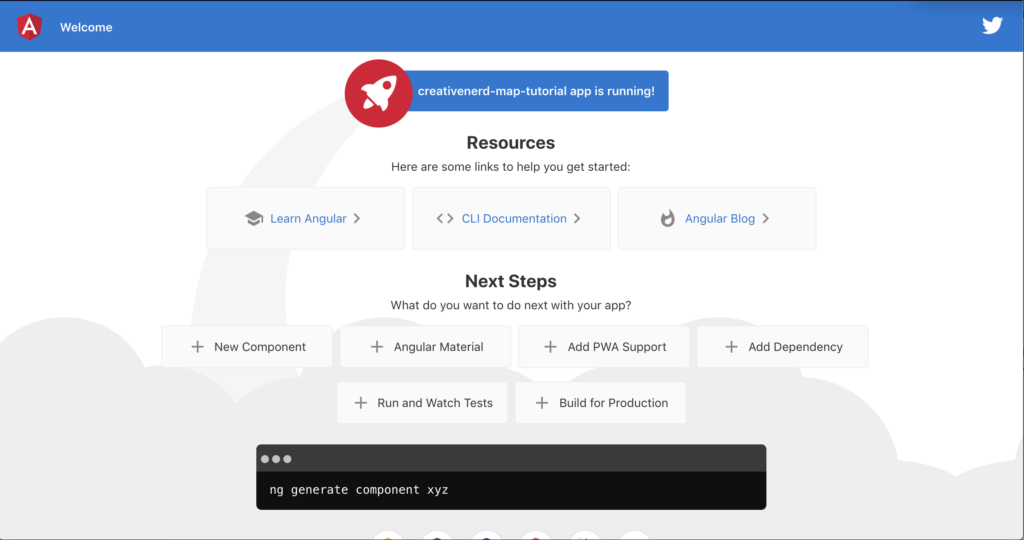
If all is ok you should see a message like this one :
** Angular Live Development Server is listening on localhost:4200, open your browser on http://localhost:4200/ **: Compiled successfully.
You can now open your browser and go to

It works.
3.Why Angular Universal ?
Let’s imagine that your website is ready to be published and that you expect to have a lot of traffic and usage.
You need to be search engine compliant in order to be indexed.
Let’s have a look at our website like we were a search engine bot..
$ curl localhost:4200There’s nothing to see…
<!doctype html>
<html lang="en">
<head>
  <meta charset="utf-8">
  <title>CreativenerdMapTutorial</title>
  <base href="/">
  <meta name="viewport" content="width=device-width, initial-scale=1">
  <link rel="icon" type="image/x-icon" href="favicon.ico">
</head>
<body>
  <app-root></app-root>
<script src="runtime.js" type="module"></script><script src="polyfills.js" type="module"></script><script src="styles.js" type="module"></script><script src="vendor.js" type="module"></script><script src="main.js" type="module"></script></body>
</html>
Indeed, when you came on the page the browser will read your index.html and load ressources you asked for, and then inject all the generated code inside your <app-root></app-root>.
The search engine bot won’t do that, it just have a look at your page source code.
Is this a big issue ?
Well it depends.
If you plan to deliver a web application for a company (B2E) maybe they won’t care about SEO and so it won’t be a problem.
4.SSR to the rescue
So your client want an Angular application with SEO.
Let’s add Angular Universal to our project :
$ ng add @nguniversal/express-engine
Installing packages for tooling via npm.
Installed packages for tooling via npm.
CREATE src/main.server.ts (298 bytes)
CREATE src/app/app.server.module.ts (318 bytes)
CREATE tsconfig.server.json (325 bytes)
CREATE server.ts (2028 bytes)
UPDATE package.json (1770 bytes)
UPDATE angular.json (5310 bytes)
UPDATE src/main.ts (432 bytes)
UPDATE src/app/app.module.ts (438 bytes)
UPDATE src/app/app-routing.module.ts (284 bytes)
As you can see there’s new files added to the project.
If you want to test your project with SSR now you have a new command :
$ npm run dev:ssrLet’s have a look at our webpage (http://localhost:4200/)

There’s no difference visually .Or maybe you can already notice that the page is loaded faster 🙂 Let’s have a look at the website from a search engine bot…
$ curl localhost:4200and Voila !
.....
<body>
  <app-root _nghost-sc18="" ng-version="9.1.4"><div _ngcontent-sc18="" role="banner" class="toolbar"><img _ngcontent-sc18="" width="40" alt="Angular Logo" src="data:image/svg+xml;base64,PHN2ZyB4bWxucz0iaHR0cDovL3d3dy53My5vcmcvMjAwMC9zdmciIHZpZXdCb3g9IjAgMCAyNTAgMjUwIj4KICAgIDxwYXRoIGZpbGw9IiNERDAwMzEiIGQ9Ik0xMjUgMzBMMzEuOSA2My4ybDE0LjIgMTIzLjFMMTI1IDIzMGw3OC45LTQzLjcgMTQuMi0xMjMuMXoiIC8+CiAgICA8cGF0aCBmaWxsPSIjQzMwMDJGIiBkPSJNMTI1IDMwdjIyLjItLjFWMjMwbDc4LjktNDMuNyAxNC4yLTEyMy4xTDEyNSAzMHoiIC8+CiAgICA8cGF0aCAgZmlsbD0iI0ZGRkZGRiIgZD0iTTEyNSA1Mi4xTDY2LjggMTgyLjZoMjEuN2wxMS43LTI5LjJoNDkuNGwxMS43IDI5LjJIMTgzTDEyNSA1Mi4xem0xNyA4My4zaC0zNGwxNy00MC45IDE3IDQwLjl6IiAvPgogIDwvc3ZnPg=="><span _ngcontent-sc18="">Welcome</span><div _ngcontent-sc18="" class="spacer"></div><a _ngcontent-sc18="" aria-label="Angular on twitter" target="_blank" rel="noopener" href="https://twitter.com/angular" title="Twitter"><svg _ngcontent-sc18="" id="twitter-logo" height="24" data-name="Logo" xmlns="http://www.w3.org/2000/svg" viewBox="0 0 400 400"><rect _ngcontent-sc18="" width="400" height="400" fill="none"></rect><path _ngcontent-sc18="" .........
There’s content to feed the bot !.Cool now lets put a map on our app.
5.Adding a map
We’ll use leaflet map for Angular in order to draw a map.
We’ll follow classic tutorial to add map.
$ npm install leaflet
$ npm install @asymmetrik/ngx-leaflet
We’re using Typescript so put the leaflet typings too :
$ npm install --save-dev @types/leafletOk we are ready to go further.
Let’s import the leaflet library in our project.To do this, add the LeafletModule to AppModule in src/app/app.module.ts
import { BrowserModule } from '@angular/platform-browser';
import { NgModule } from '@angular/core';
import { LeafletModule } from '@asymmetrik/ngx-leaflet';
import { AppComponent } from './app.component';

@NgModule({
  declarations: [
    AppComponent
  ],
  imports: [
    BrowserModule,
    LeafletModule
  ],
  providers: [],
  bootstrap: [AppComponent]
})
export class AppModule { }
For the map to render correctly, you have to add the Leaflet stylesheet to the Angular CLI global stylesheet configuration. To do this, add the following to angular.json under both the "build" and "test" sections:
{
  ...
  "styles": [
    "src/styles.css",
      "./node_modules/leaflet/dist/leaflet.css"
    ],
  ...
}
Make the same for the leaflet assets :
{
  ...
  "assets": [
    {
      "glob": "**/*",
      "input": "./node_modules/leaflet/dist/images",
      "output": "leaflet/"
    },
    "src/assets",
    "src/favicon.ico"
  ],
  ...
}
Ok before to add the map, let’s have a test to check if our project still working (Always a good thing to do):
We test without SSR : $ ng serve
It works.
We test with SSR : $ npm run dev:ssr
It fails.
ReferenceError: window is not definedWhy it fails ?
The leaflet import we made once it’s called, try to find the window element. Or, there’s now window yet because page is rendered by the server (and not the browser).
How to bypass ?
We’ll make conditionnal loading of the module.
Let’s remove leaflet imports inside app.module.ts :
import { BrowserModule } from '@angular/platform-browser';
import { NgModule } from '@angular/core';

import { AppComponent } from './app.component';

@NgModule({
  declarations: [
    AppComponent
  ],
  imports: [
    BrowserModule
  ],
  providers: [],
  bootstrap: [AppComponent]
})
export class AppModule { }
So let’s create now a lazy map loader component.
$ ng generate service mapLet’s open app/map.service.ts :
import { Injectable } from '@angular/core';

@Injectable({
  providedIn: 'root'
})
export class MapService {

  constructor() { }
}
And let’s add few lines to have something like this :
import { Injectable, PLATFORM_ID, Inject } from '@angular/core';
import { isPlatformBrowser } from '@angular/common';

@Injectable()
export class MapService {
  public L = null;

  constructor(@Inject(PLATFORM_ID) private platformId: Object) {
    if (isPlatformBrowser(platformId)) {
      this.L = require('leaflet');
    }
  }
}
Import your new service inside your app.module.ts :
import { BrowserModule } from '@angular/platform-browser';
import { NgModule } from '@angular/core';
import { AppRoutingModule } from './app-routing.module';
import { AppComponent } from './app.component';
import { MapService } from './map.service';
declare var require: any;
@NgModule({
  declarations: [
    AppComponent
  ],
  imports: [
    BrowserModule.withServerTransition({ appId: 'serverApp' }),
    AppRoutingModule
  ],
  providers: [MapService],
  bootstrap: [AppComponent]
})
export class AppModule { }
npm i @types/node --saveadd `node` to the types field in your tsconfig.app.json
{
  "extends": "./tsconfig.json",
  "compilerOptions": {
    "outDir": "./out-tsc/app",
    "types": ["node"]
  },
  "files": [
    "src/main.ts",
    "src/polyfills.ts"
  ],
  "include": [
    "src/**/*.d.ts"
  ]
}
Now we’ll display a map.
We’ll use app.component.html.
You can remove all the code and just keep those lines :
<h3>CreativeNerd SSR MAP</h3>
<div id="map" style="width:500px;height:500px"></div>
<router-outlet></router-outlet>
Now we’ll import our lazy loaded leaflet module. Open app.component.ts and add import :
import { Component, OnInit } from '@angular/core';
import { MapService } from './map.service';
@Component({
  selector: 'app-root',
  templateUrl: './app.component.html',
  styleUrls: ['./app.component.css']
})
export class AppComponent implements OnInit {
  map;
  title = 'creativenerd-map-tutorial';
  constructor(private mapService: MapService){}

  ngOnInit() {
    if (this.mapService.L) {
      this.setupMap();
    }
  }

  private setupMap() {
    if (!this.map) {
      this.map = this.mapService.L.map('map').setView([51.505, 2.09], 5);
      this.mapService.L.tileLayer(
        'https://{s}.tile.openstreetmap.fr/osmfr/{z}/{x}/{y}.png',
        {
          attribution:
            'copy; <a href="http://www.openstreetmap.org/copyright">OpenStreetMap</a>,' +
            'creativeNerd Maps',
        }
      ).addTo(this.map);
    }
  }
}
Let’s have a try
$ npm run dev:ssr 
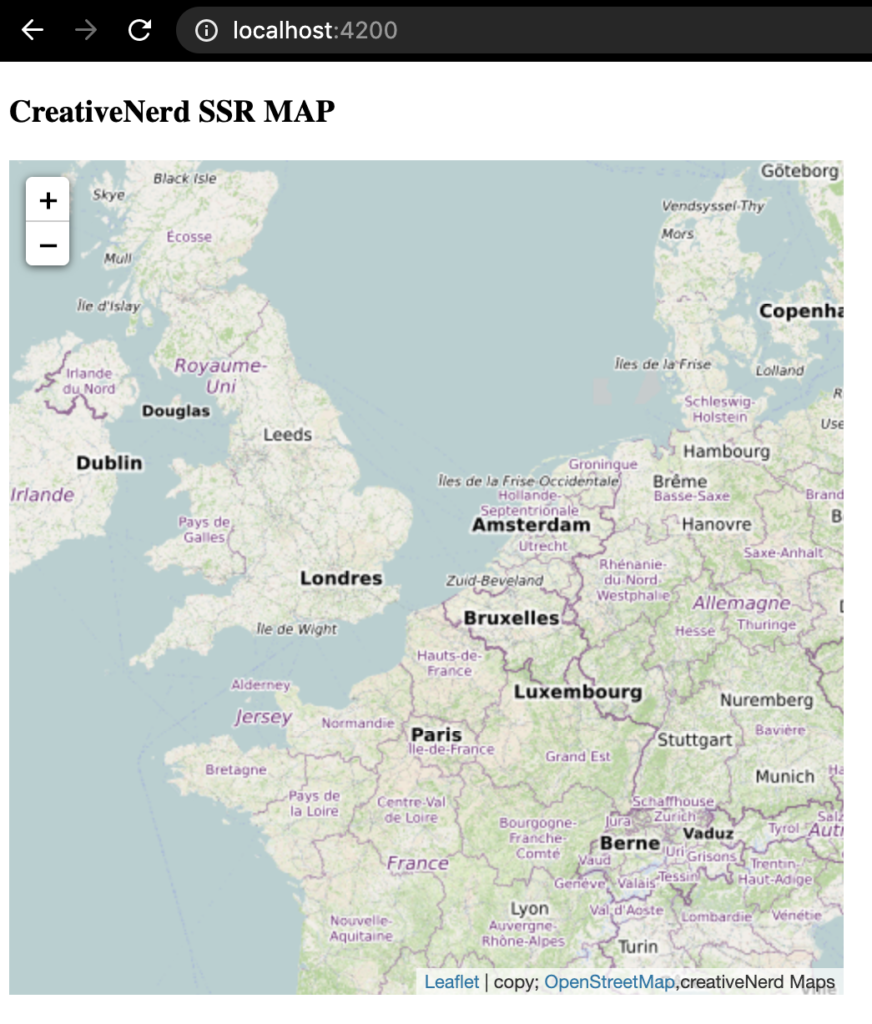
You’re done 😉
And don’t forget you could use this technique for other modules…